
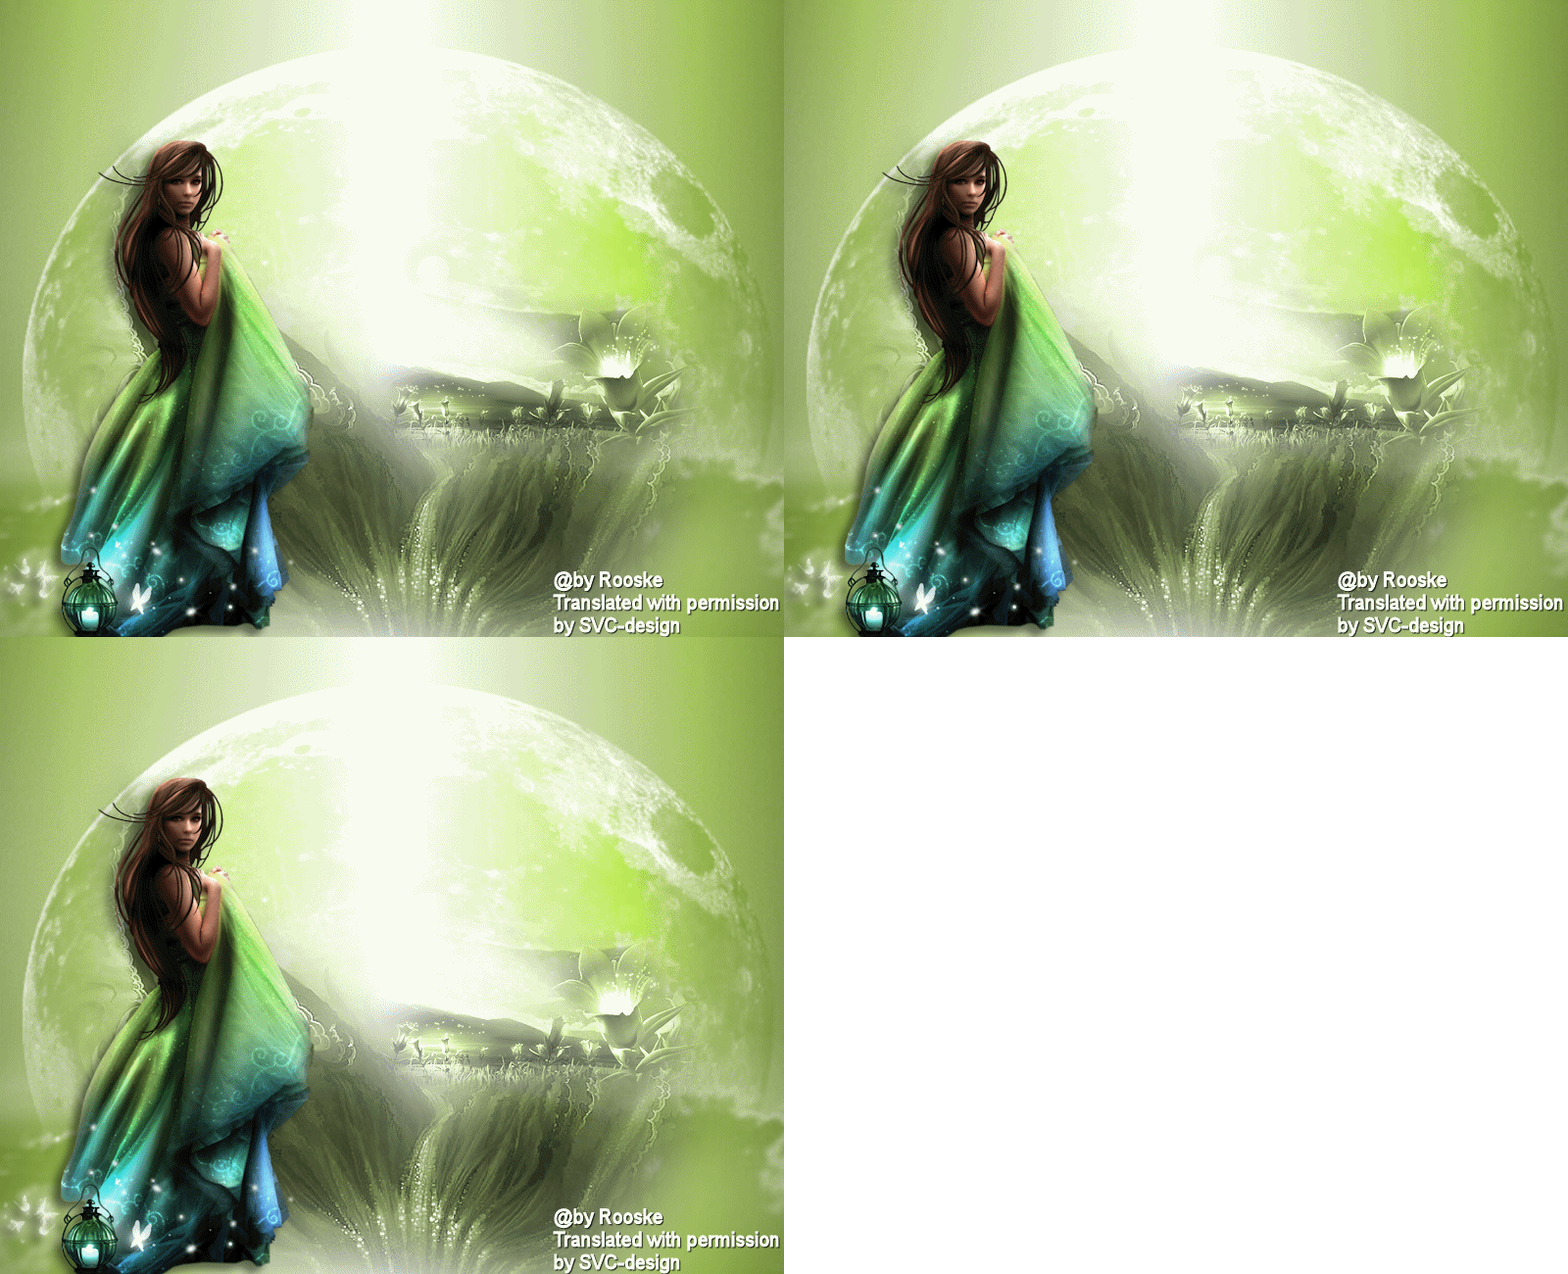
This lesson is made with PSPX9
But is good with other versions.
© by SvC-Design

Materialen Download :
Here
******************************************************************
Materials:
1228507066_feerie_nikita.psp
1250181497_nikita_masques.jpg
1293007587_feerique_nikita.psp
1293007590_feerique_nikita.psp
******************************************************************
Plugin:
Plugin - KPT - Lensflare
plug-in - KPT6 – KPT sky effects
******************************************************************
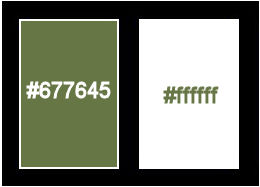
color palette
:
******************************************************************
methode
When using other tubes and colors, the mixing mode and / or layer coverage may differ
******************************************************************
General Preparations:
First install your filters for your PSP!
Masks: Save to your mask folder in PSP, unless noted otherwise
Texture & Pattern: Save to your Texture Folder in PSP
Selections: Save to your folder Selections in PSP
Open your tubes in PSP
******************************************************************
We will start - Have fun!
Remember to save your work on a regular basis
******************************************************************
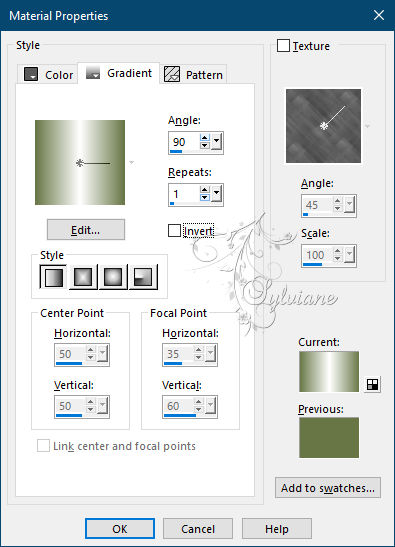
Foreground : #e5e2db
Background : #918066
Gradient : linear angle 90-rep 1
1.
Open new image of 800 x 650 pix transparent
Fill with gradient.
Layers - Duplicate
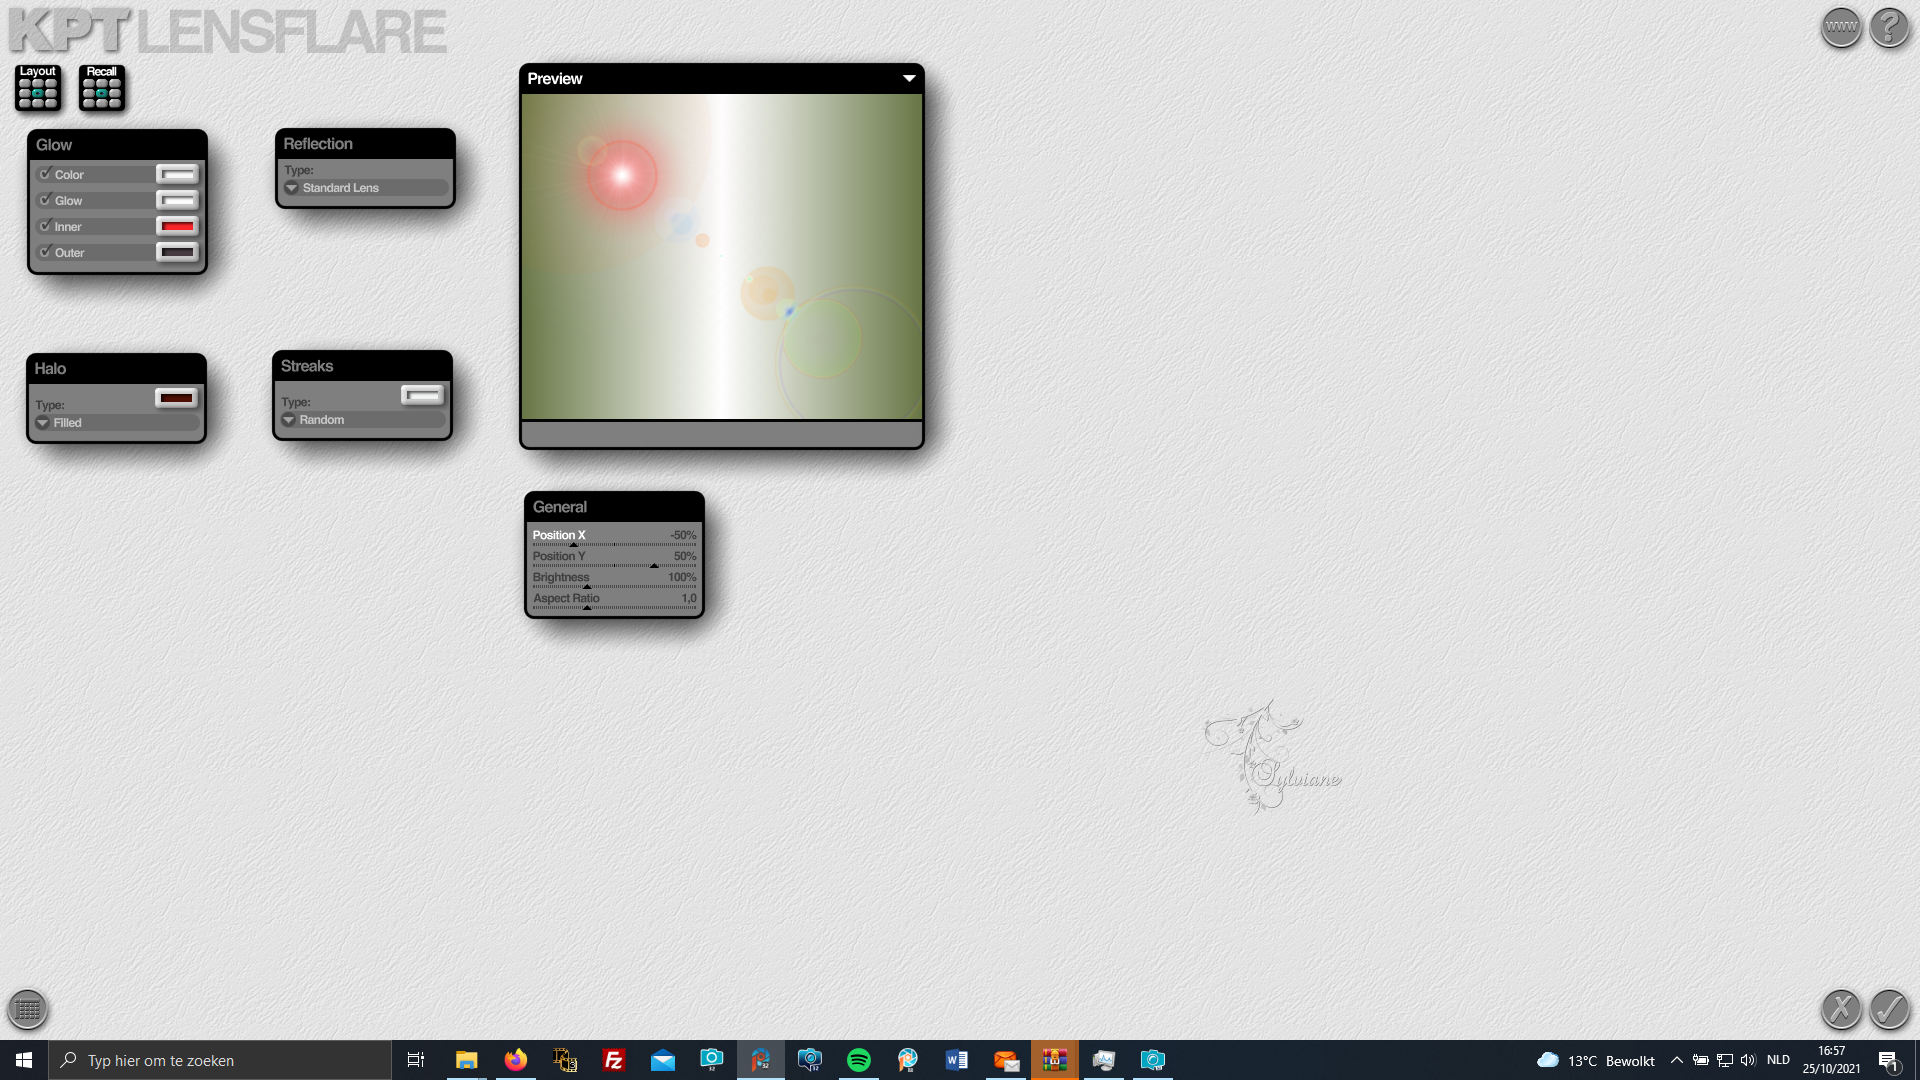
Plugin - KPT - Lensflare (everything is correct)
Set the Blend Mode to Saturation and the Opacity to 75.
2.
Open 1293007587_feerique_nikita.psp
Edit - Copy
Edit - Paste as new layer
Reduce them by 75% and mirror.
Effects - 3D effects - drop shadow
7/-8/ 50/12 color:#000000
3
Activate copy raster 2.
plug-in - KPT6 – KPT sky effects
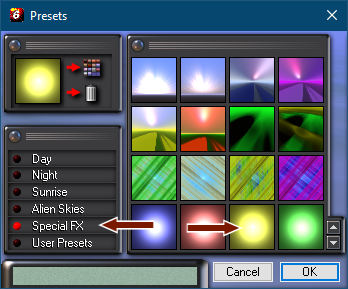
A new screen opens, choose Special FX and right at the arrow
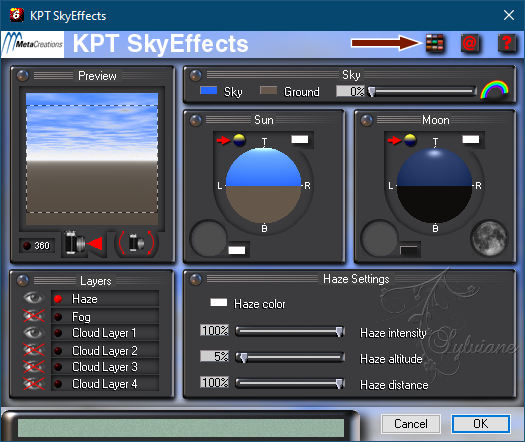
For the yellow sphere click ok
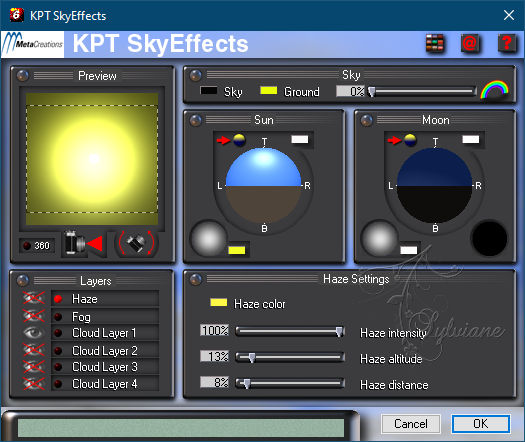
4.
Layers new raster layer.
Fill with white.
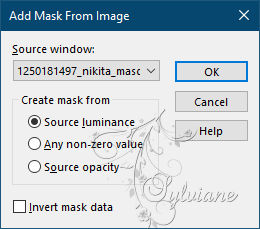
Layers - New Mask Layer - From Image - 1250181497_nikita_masques.jpg
Layers - Merge - Merge Group
5.
Open 1293007587_feerique_nikita.psp
Edit - Copy
Edit - Paste as new layer
resize with 75%
Adjust – hue and saturation – colorize 55-66
6.
Open 1293007590_feerique_nikita.psp
Edit - Copy
Edit - Paste as new layer
Place them as in example.
Adjust hue and saturation, settings are correct.
7.
Put your name on your creation.
Merge all layers and make your crea 600 pix longest side.
8.
Copy the flower and paste on your creation reduce by 50%
Adjust hue and saturation.
Duplicate this layer 2x
9.
Activate the first flower layer.
Go to adjust brightness and contrast :
brightness at 30 and contrast at 10
10.
Edit copy merged and paste into animation shovel as new animation.
Back to psp.
Close this layer and activate the layer above it.
Apply brightness and contrast but set brightness to 50.
Copy merged and paste in AS after current.
Back to psp.
Close this layer and activate the layer above it.
Brightness and contrast: brightness at 70, the rest is good.
Copy merged and paste in AS after current.
So this was it again, save your work.
Back
Copyright Translation © 2021 by SvC-Design